Master Headlamp Beam Patterns to See True Performance in Real Use
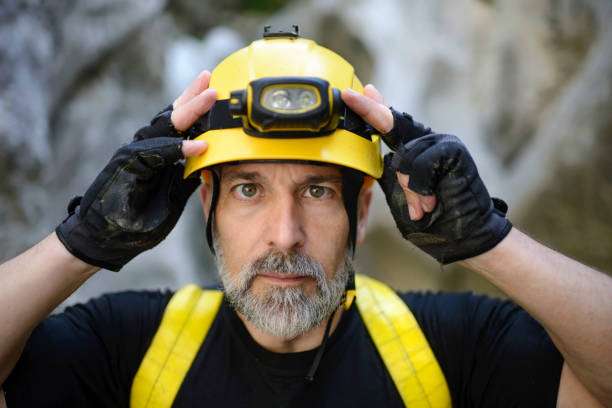
Have you ever been attracted by a headlamp ad boasting “max throw 500 meters!” or “ultra-high lumens!”, bought it excitedly, only to be disappointed on your first night run or hike?
Your foot placement is blurred, the sides are pitch black, and the light seems to have escaped to invisible distances, leaving you in a “dark under the lamp” predicament.
Where’s the problem? Likely, you were misled by simple numbers and overlooked the true soul that determines lighting experience—beam quality.
And a seemingly professional beam pattern is the “X-ray” that reveals this soul.
Today, we won’t talk about exaggerated specs; instead, let’s learn to read headlamp beam patterns like an expert to understand how they perform in the real world.
Forget the Numbers: Why Lumens and Range Can “Lie”
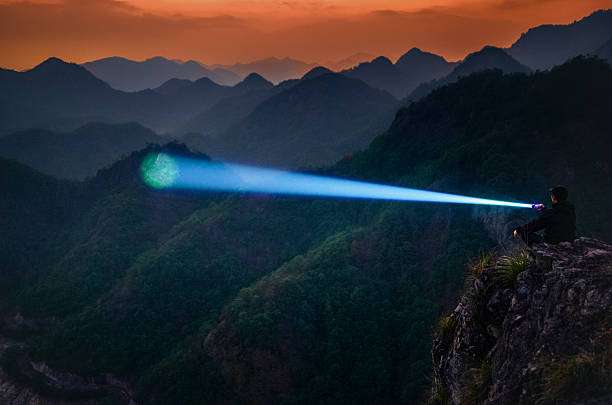
First, a basic concept: lumens describe the total light output of a source, like the total water flow from a faucet. But it doesn’t tell you whether the light is focused into a column or scattered like a mist.
High lumens + deep reflector (strong spot): Light is intensely focused, extremely bright in the center, and can reach far distances (hence the “max throw”), but the surrounding floodlight area is nearly zero.
Result: you can see a reflective sign 100 meters away but not the roots half a meter in front. It’s like walking with a laser pointer.
Same lumens + shallow reflector/diffused cup (wide flood): Light is intentionally spread out, the center is less dazzling, but it evenly illuminates a wide area.
Result: foot, front, and side vision are all clear, providing strong safety, though light doesn’t travel far.
Comparing lumens alone is like comparing car horsepower without noting whether it’s a sedan or truck—meaningless. Beam patterns show how this “power” is actually distributed.
Analyzing a Beam Pattern: Key Areas Explained
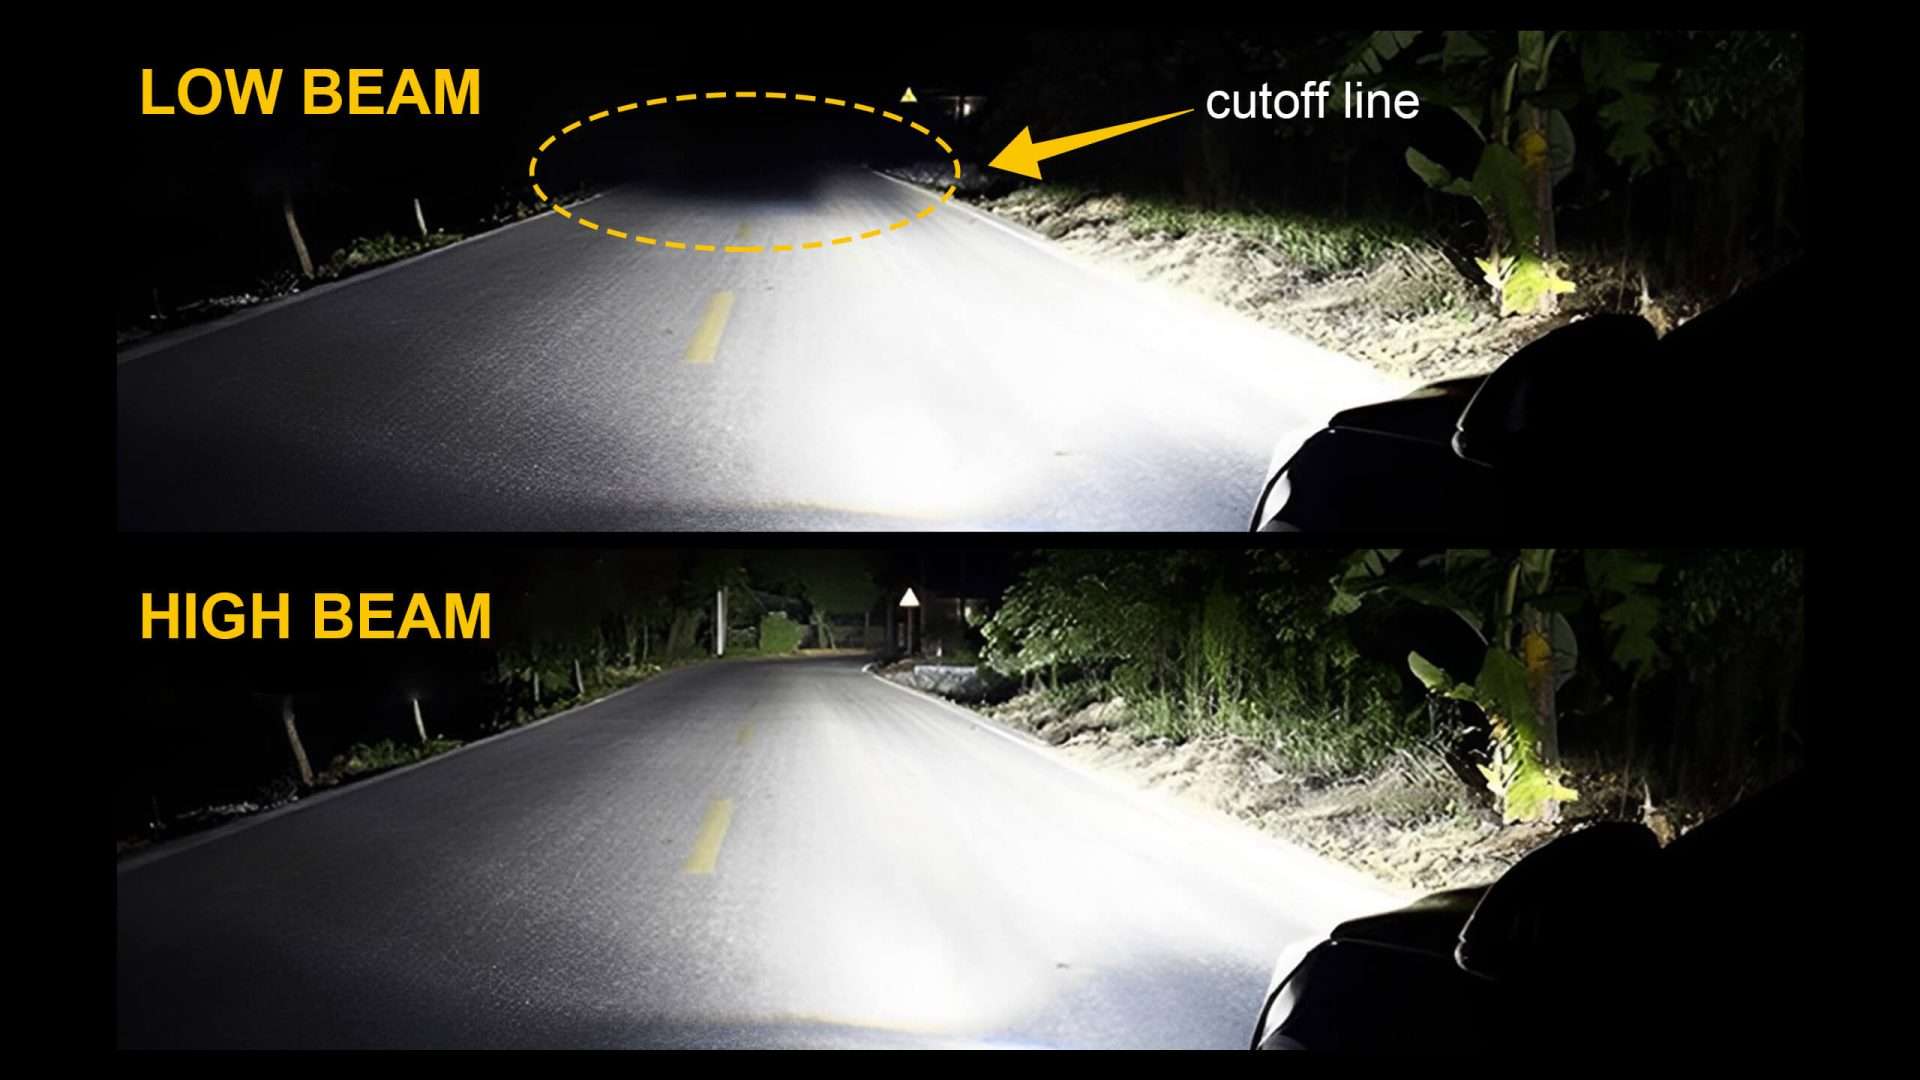
A standard headlamp beam pattern is typically captured by pointing the lamp at a white wall in a dark environment, with distance and brightness scales. Understanding it lets you “step into” the usage scene. Key areas:
1. Center Hot Spot
The brightest, most concentrated part of the beam, usually white or yellow on the beam pattern.
What it tells you: the headlamp’s focusing ability and central brightness. Small, sharply bounded, very bright hot spots excel at long-distance illumination. Slightly larger, softer hot spots emphasize mid-range coverage.
2. Flood/Spill Area
Surrounding the hot spot, brightness gradually diminishes across a wide area.
What it tells you: key for peripheral vision and foot safety! A wide, bright, evenly transitioning flood area lets you detect obstacles and terrain changes while moving. Poor flood areas are dim and narrow, creating tunnel vision.
3. Transition Zone (Corona)
The area connecting the hot spot and flood. A good transition is smooth without harsh rings.
What it tells you: the design quality of the optical system. Smooth transitions mean natural light distribution, comfortable vision, and less fatigue. Harsh rings indicate low-cost or poorly designed optics.
4. Overall Shape & Uniformity
Observe whether the pattern is circular, oval, or irregular. Is the distribution uniform?
What it tells you: optical symmetry and precision. Regular, uniform patterns provide predictable illumination and a better wearing experience.
From Diagram to Reality: Predicting Performance
Scenario: Trail Running / Night Hiking
You need an extremely wide, uniform flood for scanning uneven, obstacle-filled terrain. Hot spots can have moderate brightness for occasional path illumination but must not compromise flood quality. The foot and front 3–5 meters must be shadow-free.
Look for beam patterns with large, evenly bright flood areas. Hot spots may exist but shouldn’t dominate.
Scenario: Search & Rescue / Long-Distance Spotting
You need an extremely bright, concentrated hot spot to penetrate rain/fog and illuminate distant targets. Flood is secondary.
Look for a small, bright hot spot with strong contrast against the flood area.
Scenario: Campsite Activities/Repairs
You need an even, large flood to illuminate a workbench or campsite table, reducing glare and harsh contrast. Medium brightness suffices.
Look for a “full moon”-like pattern, similar center and edge brightness, and overall softness.
Example Analysis: “Wide Beam” Concept in Action
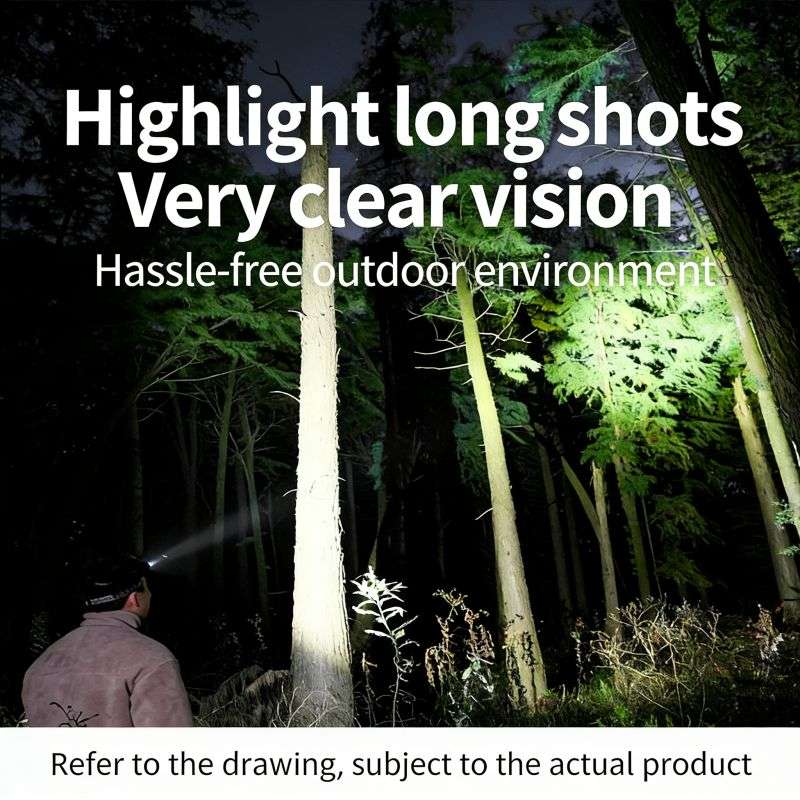
Take an ultra-light running headlamp designed for runners. Its philosophy: enhance visibility of path, obstacles, and surroundings with wide LED beams.
- Large flood area: spreads light sideways, letting peripheral vision detect sudden obstacles, animals, or fellow runners.
- Soft, moderate center hot spot: illuminates main path without neglecting sides or causing floor glare. Smooth transitions reduce visual fatigue.
- Uniform pattern: brightness decays naturally from center to edge, with no abrupt dark or bright rings, ensuring continuous visual information.
This design provides more value than pure high-lumen numbers. Dynamic use requires information, not just brightness.
The ultra-light 91 g, anti-shake headband ensures this “clear field of vision” stays stable on the runner’s forehead, becoming an extension of the body.
[Explore Headlamps With Optimal Beam Patterns]
Beam Pattern FAQ
|
Question |
Answer |
|
Where can I find reliable headlamp beam patterns? | Independent, trustworthy gear review websites or in-depth review videos (many on YouTube) often provide actual beam pattern comparisons at standard distances (1 m, 3 m, 5 m). Brand pages may show patterns but sometimes enhanced or non-standard; check user-uploaded photos too. |
|
Beam patterns are shot on white walls; isn’t that far from real outdoor conditions? | White wall patterns standardize testing, clearly showing optical characteristics (beam shape, brightness distribution, and defects). Real outdoors, trees, soil, and fog scatter light, but a lamp with good flood and smooth transition still offers comfortable, information-rich illumination. Beam patterns reveal its “basic quality.” |
Next time you browse headlamps, ignore flashy numbers. Take a few minutes to find and study the beam pattern.
Ask yourself: what is the light’s “character”? Aggressive spotlight or gentle guardian? Focused on a distant point, or warmly illuminating the world at your feet?
The diagram doesn’t speak but reveals the designer’s intent and how the lamp will interact with you in countless dark nights. Learn to read it, and you hold the key beyond marketing, straight to the product’s soul.
Choosing a headlamp becomes deliberate; each beam finds its true meaning on your forehead.